
I love making Grilled Corn on the Cob with Garlic Butter because it transforms a simple summer staple into a flavorful and irresistible side dish. The grill gives the corn a lightly charred, smoky flavor, while the garlic butter adds richness and depth. Whether I serve it at a backyard barbecue, family dinner, or picnic, this recipe always disappears quickly.
Why You’ll Love This Recipe
I enjoy this recipe because it is easy to prepare and requires only a few simple ingredients. The natural sweetness of the corn becomes even more pronounced when grilled, and the garlic butter creates a delicious coating that complements every bite. I also appreciate how versatile it is since it pairs well with grilled meats, seafood, burgers, and vegetarian meals.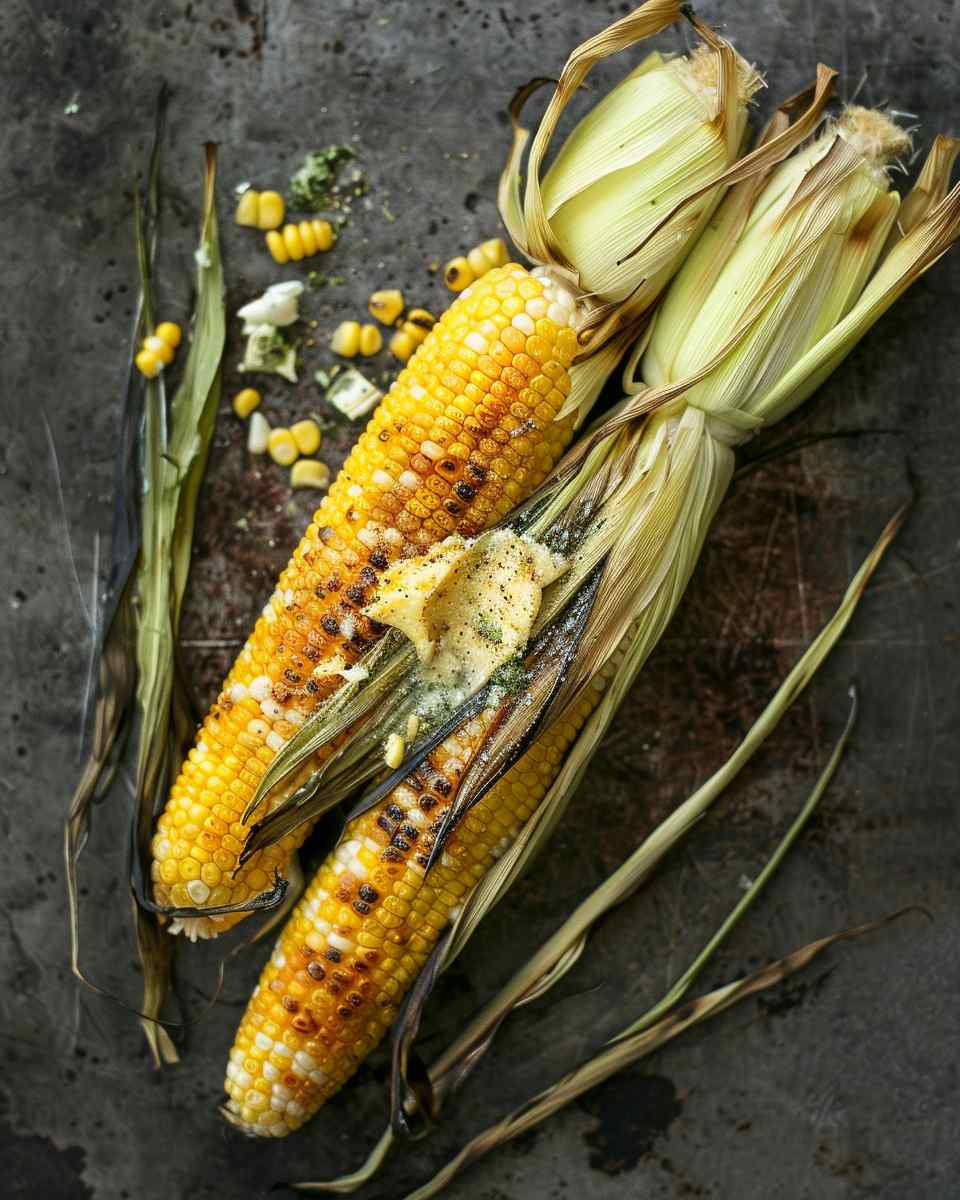
Ingredients
(Here’s a tip: Check out the full list of ingredients and measurements in the recipe card below.)
- 6 ears of corn, husked
- 1/2 cup unsalted butter, melted
- 4 cloves garlic, minced
- 1 tablespoon fresh parsley, finely chopped
- 1/2 teaspoon salt
- 1/4 teaspoon black pepper
- 1 tablespoon grated Parmesan cheese (optional)
- Lemon wedges, for serving (optional)
Directions
- I preheat the grill to medium-high heat, about 400°F (200°C).
- In a small bowl, I combine the melted butter, minced garlic, parsley, salt, and black pepper.
- I brush each ear of corn generously with the garlic butter mixture.
- I place the corn directly on the grill grates.
- I grill the corn for 10 to 12 minutes, turning every few minutes to ensure even cooking and light charring on all sides.
- I continue brushing the corn with the remaining garlic butter while it cooks.
- Once the corn is tender and lightly charred, I remove it from the grill.
- I sprinkle Parmesan cheese over the hot corn if desired.
- I serve immediately with lemon wedges on the side.
Servings and timing
- Servings: 6
- Prep Time: 10 minutes
- Cook Time: 12 minutes
- Total Time: 22 minutes
Variations
- I sometimes add a pinch of cayenne pepper or chili powder for a spicy version.
- I enjoy mixing fresh herbs such as cilantro, basil, or chives into the garlic butter.
- I occasionally sprinkle crumbled feta or cotija cheese over the grilled corn.
- I like adding a squeeze of fresh lime juice for extra brightness.
- I sometimes use smoked paprika in the butter mixture to enhance the smoky flavor.
storage/reheating
I store leftover corn in an airtight container in the refrigerator for up to 3 days. To reheat, I wrap the corn in foil and warm it in a 350°F (175°C) oven for about 10 minutes. I can also reheat it on the grill for a few minutes to restore some of the charred flavor. If I am short on time, I use the microwave, although the texture is best when reheated in the oven or on the grill.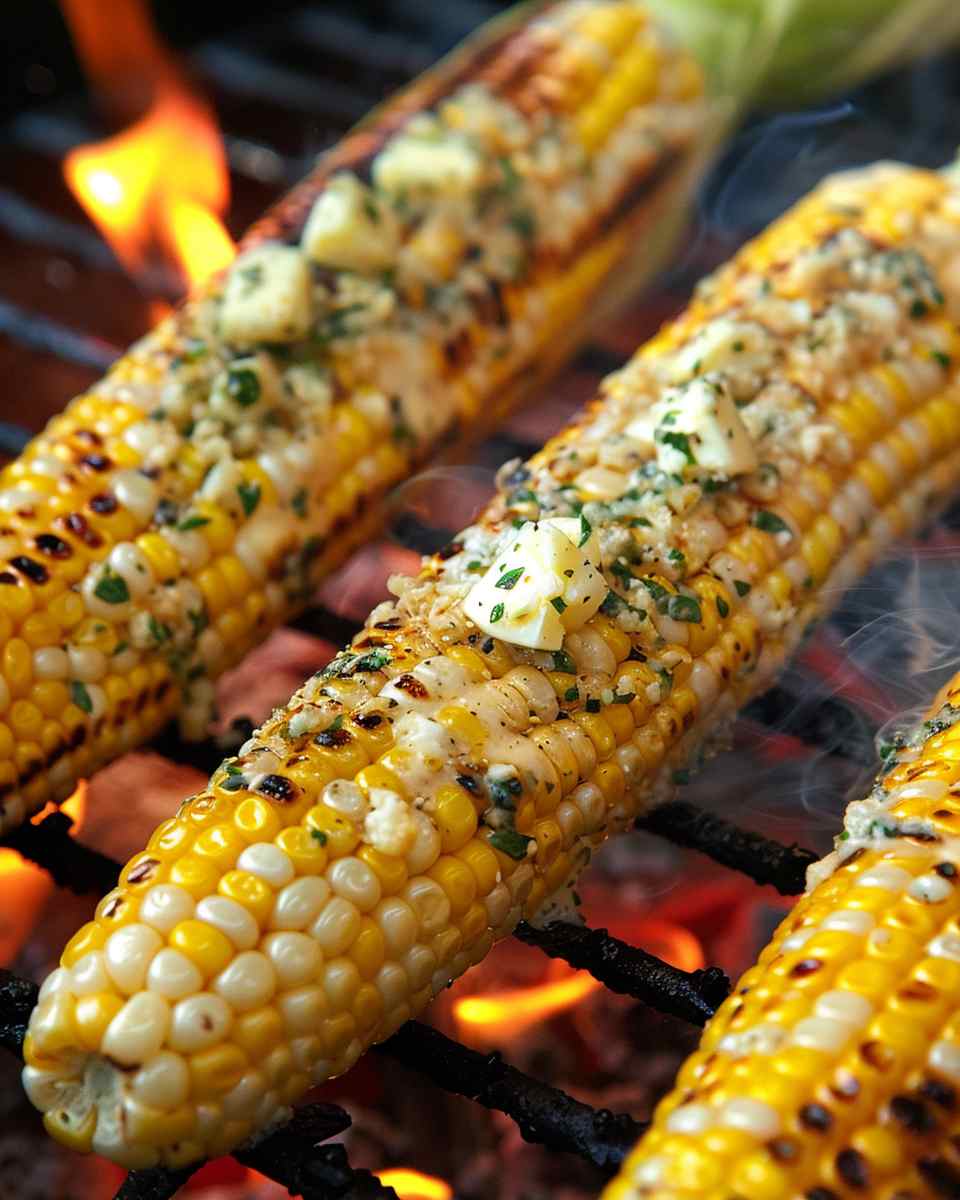
FAQs
Can I grill corn with the husks on?
Yes, I can grill corn with the husks on for a slightly steamed texture and smoky flavor. I usually soak the corn in water first to help prevent the husks from burning.
How do I know when the corn is done?
I look for kernels that are tender and bright yellow with light char marks. The corn should feel slightly soft when pierced with a fork.
Can I make the garlic butter ahead of time?
Yes, I often prepare the garlic butter a day in advance and store it in the refrigerator until I am ready to grill.
What dishes pair well with grilled corn?
I enjoy serving it alongside grilled chicken, steak, burgers, seafood, barbecue dishes, and fresh salads.
Can I use frozen corn on the cob?
Yes, I can use frozen corn, but I thaw it completely and pat it dry before brushing it with garlic butter and grilling.
Conclusion
I find Grilled Corn on the Cob with Garlic Butter to be one of the easiest and most flavorful side dishes I can make. The sweet corn, smoky grill marks, and rich garlic butter create a delicious combination that complements almost any meal. Whether I prepare it for a casual cookout or a special gathering, it is always a recipe I am excited to serve.
Grilled Corn On The Cob With Garlic Butter

5 Stars 4 Stars 3 Stars 2 Stars 1 Star
No reviews
Sweet, juicy corn on the cob grilled to perfection and brushed with rich garlic butter for a smoky, flavorful side dish. Perfect for barbecues, picnics, family dinners, and summer gatherings.
- Author: Mayaa
- Prep Time: 10 minutes
- Cook Time: 12 minutes
- Total Time: 22 minutes
- Yield: 6 servings
- Category: Side Dish
- Method: Grilling
- Cuisine: American
- Diet: Vegetarian
Ingredients
- 6 ears of corn, husked
- 1/2 cup unsalted butter, melted
- 4 cloves garlic, minced
- 1 tablespoon fresh parsley, finely chopped
- 1/2 teaspoon salt
- 1/4 teaspoon black pepper
- 1 tablespoon grated Parmesan cheese (optional)
- Lemon wedges, for serving (optional)
Instructions
- Preheat the grill to medium-high heat, about 400°F (200°C).
- In a small bowl, combine the melted butter, minced garlic, parsley, salt, and black pepper.
- Brush each ear of corn generously with the garlic butter mixture.
- Place the corn directly on the grill grates.
- Grill for 10 to 12 minutes, turning every few minutes to ensure even cooking and light charring on all sides.
- Continue brushing the corn with the remaining garlic butter while it cooks.
- Once the corn is tender and lightly charred, remove it from the grill.
- Sprinkle with Parmesan cheese if desired.
- Serve immediately with lemon wedges on the side.
Notes
- Add cayenne pepper or chili powder for a spicy variation.
- Mix fresh herbs such as cilantro, basil, or chives into the garlic butter.
- Top with crumbled feta or cotija cheese for extra flavor.
- Add a squeeze of fresh lime juice for brightness.
- Use smoked paprika in the butter mixture to enhance smoky flavor.
- Store leftovers in an airtight container in the refrigerator for up to 3 days.
- Reheat wrapped in foil in a 350°F (175°C) oven for about 10 minutes.
- For best flavor, reheat on the grill for a few minutes.
- Frozen corn may be used if fully thawed and patted dry before grilling.
- Garlic butter can be prepared up to 1 day in advance and refrigerated.
Nutrition
- Serving Size: 1 ear of corn
- Calories: 220
- Sugar: 6g
- Sodium: 230mg
- Fat: 12g
- Saturated Fat: 7g
- Unsaturated Fat: 4g
- Trans Fat: 0g
- Carbohydrates: 27g
- Fiber: 3g
- Protein: 4g
- Cholesterol: 30mg


