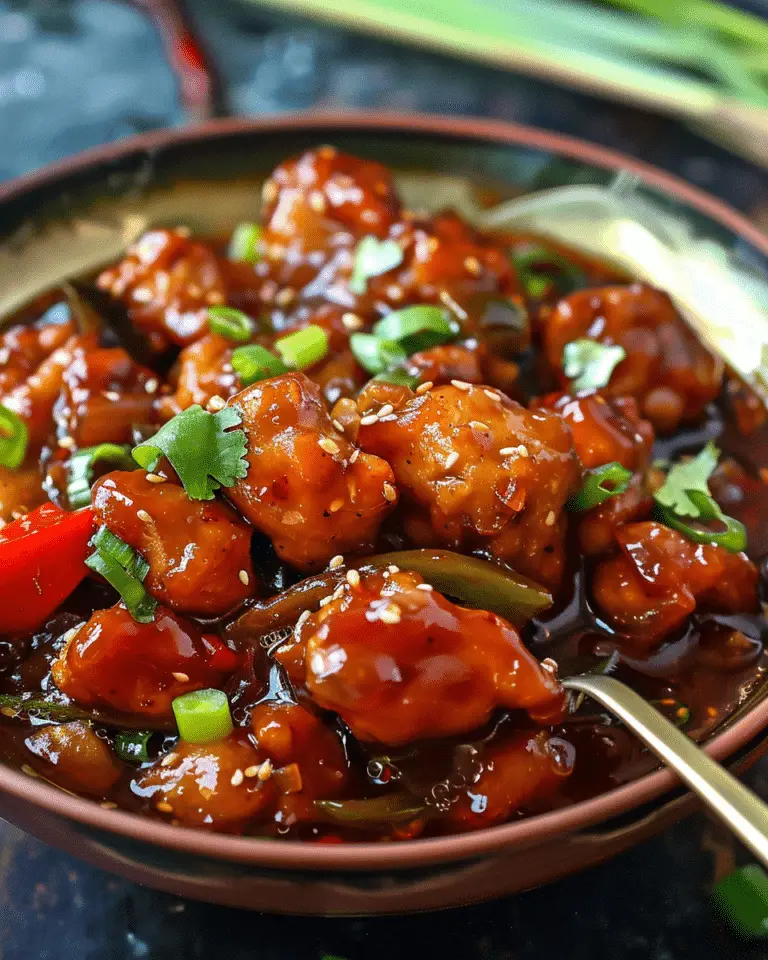
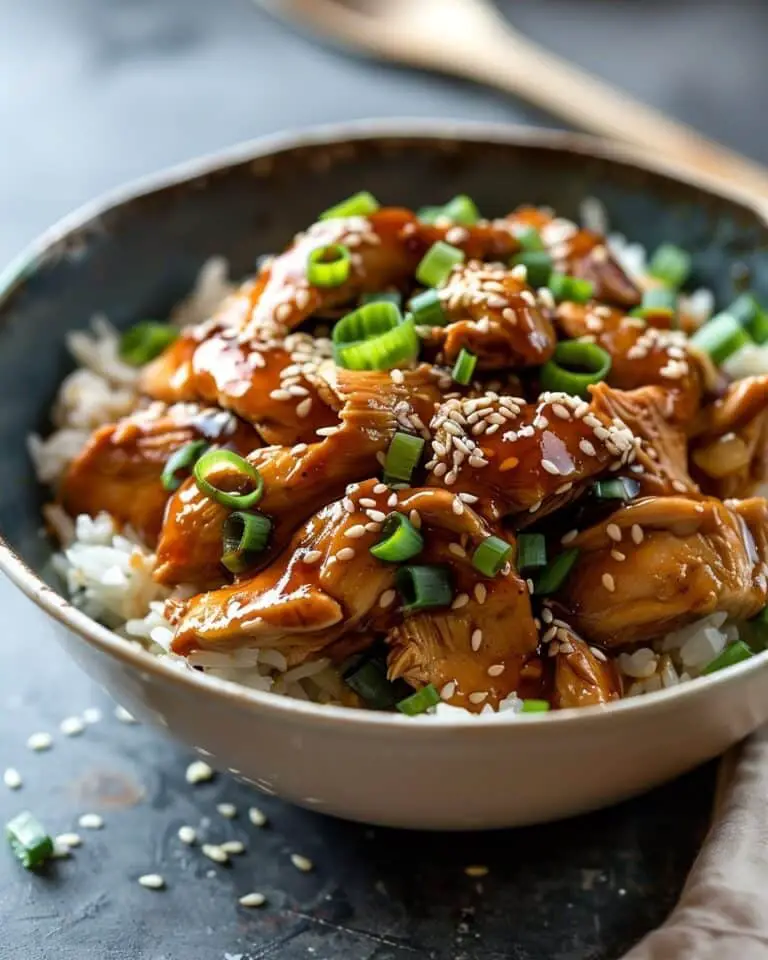
Skip the takeout and make my famous sweet and sour chicken right at home! This dish has crispy golden chicken pieces coated in a glossy, tangy-sweet sauce that clings to every bite. It’s just as delicious as restaurant-style but made in my own kitchen with simple ingredients.
Why You’ll Love This Recipe
I love this recipe because it gives me all the flavors I crave from takeout without leaving the house. The chicken turns out perfectly crispy, and the sauce has the ideal balance of sweetness and tang. I also like that I can adjust the flavors to my taste and add extra vegetables if I want. It’s a family favorite in my house and always disappears quickly at the dinner table.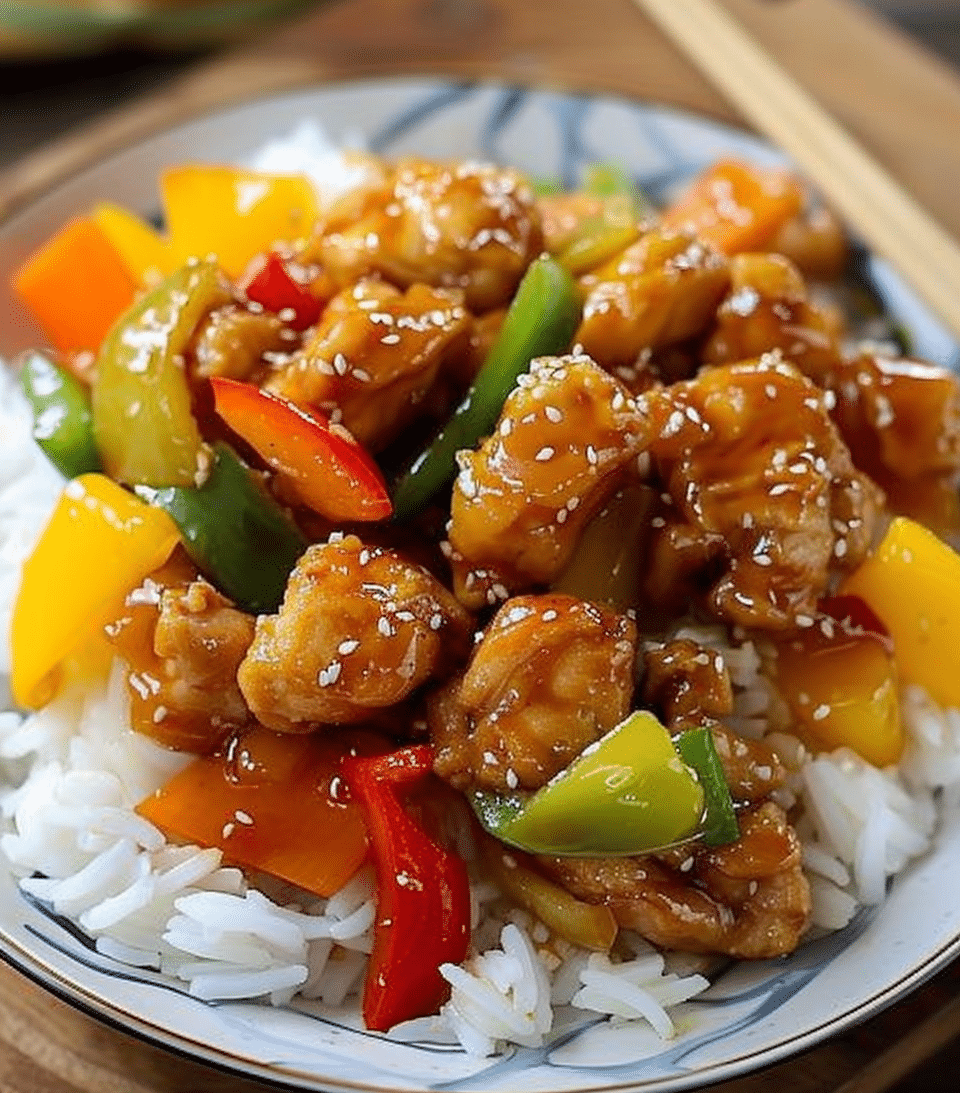
Ingredients
(Here’s a tip: Check out the full list of ingredients and measurements in the recipe card below.)
- Boneless, skinless chicken breast or thighs
- Cornstarch
- All-purpose flour
- Eggs
- Salt and black pepper
- Vegetable oil (for frying)
- Red bell pepper, chopped
- Green bell pepper, chopped
- Pineapple chunks
- Onion, chopped
For the sauce:
- Ketchup
- Rice vinegar (or white vinegar)
- Soy sauce
- Brown sugar
- Garlic, minced
- Cornstarch slurry (cornstarch mixed with water)
Directions
- I cut the chicken into bite-sized pieces and season with salt and pepper.
- I dredge the chicken in a mix of cornstarch and flour, then dip it into beaten eggs before coating it again in the dry mix.
- I heat oil in a large skillet or wok and fry the chicken until golden and crispy, then set it aside on a paper towel.
- In another pan, I sauté bell peppers, onion, and pineapple until slightly tender.
- For the sauce, I whisk together ketchup, vinegar, soy sauce, brown sugar, and garlic in a saucepan. I bring it to a simmer, then stir in the cornstarch slurry until thickened.
- I toss the crispy chicken and vegetables into the sauce, coating everything evenly.
- I serve it hot over steamed rice or noodles.
Servings and timing
This recipe makes about 4 servings. It takes me around 15 minutes to prep and 25 minutes to cook, so in about 40 minutes I have a homemade takeout-style meal ready.
Variations
I sometimes make this with shrimp or pork instead of chicken for a different twist. For a healthier version, I bake the chicken instead of frying it or use an air fryer for crispiness with less oil. I also like adding extra veggies like broccoli, carrots, or snap peas for more color and nutrition.
storage/reheating
I store leftovers in an airtight container in the refrigerator for up to 3 days. To reheat, I warm it in a skillet over medium heat to keep the chicken crispy. If I use the microwave, I do it in short bursts to avoid making the chicken soggy. I don’t recommend freezing because the sauce can separate and the chicken loses its crispiness.
FAQs
Can I bake the chicken instead of frying?
Yes, I can bake it at 400°F (200°C) for 20–25 minutes or use an air fryer for a lighter version.
What type of vinegar works best?
I usually use rice vinegar for a mild tang, but white vinegar works well if that’s what I have on hand.
Can I make the sauce ahead of time?
Yes, I can prepare the sauce up to 2 days in advance and store it in the fridge. I just reheat it and toss it with the chicken when ready to serve.
How do I keep the chicken crispy in the sauce?
I toss the chicken in the sauce right before serving to keep it from getting soggy.
Can I make this gluten-free?
Yes, I use gluten-free soy sauce and substitute cornstarch for the flour in the coating.
Conclusion
This sweet and sour chicken is one of my favorite takeout-style dishes to make at home. I love the crispy chicken, the bold tangy-sweet sauce, and the colorful vegetables all tossed together. It’s easy, satisfying, and way better than ordering out. Every time I make it, I’m reminded that homemade truly tastes best.
PrintSweet and Sour Chicken
This sweet and sour chicken recipe is crispy, golden, and coated in a tangy-sweet sauce with peppers, onions, and pineapple. A better-than-takeout dinner you can make at home in just 40 minutes.
- Prep Time: 15 minutes
- Cook Time: 25 minutes
- Total Time: 40 minutes
- Yield: 4 servings
- Category: Main Dish
- Method: Frying + Stovetop
- Cuisine: Chinese-American
- Diet: Gluten Free
Ingredients
- For the chicken:
- 1 ½ lbs boneless, skinless chicken breast or thighs
- ½ cup cornstarch
- ½ cup all-purpose flour
- 2 eggs, beaten
- Salt and black pepper, to taste
- Vegetable oil, for frying
- For the stir-fry:
- 1 red bell pepper, chopped
- 1 green bell pepper, chopped
- 1 onion, chopped
- 1 cup pineapple chunks
- For the sauce:
- ½ cup ketchup
- ⅓ cup rice vinegar (or white vinegar)
- 3 tbsp soy sauce
- ⅓ cup brown sugar
- 2 cloves garlic, minced
- 1 tbsp cornstarch mixed with 2 tbsp water (slurry)
Instructions
- Cut chicken into bite-sized pieces; season with salt and pepper.
- Dredge chicken in a cornstarch-flour mix, dip into beaten eggs, then coat again in dry mix.
- Heat oil in a skillet or wok; fry chicken until golden and crispy. Drain on paper towels.
- In another pan, sauté bell peppers, onion, and pineapple until slightly tender.
- For the sauce: whisk ketchup, vinegar, soy sauce, brown sugar, and garlic in a saucepan. Bring to a simmer. Add cornstarch slurry and cook until thickened.
- Toss chicken and vegetables in the sauce until coated.
- Serve hot over steamed rice or noodles.
Notes
- Use shrimp instead of chicken for variation.
- Bake or air-fry chicken for a lighter version.
- Add broccoli, carrots, or snap peas for extra veggies.
- Make sauce ahead of time and store for up to 2 days.
- Toss chicken in sauce just before serving to keep it crispy.
Nutrition
- Serving Size: 1 serving
- Calories: 520
- Sugar: 18g
- Sodium: 700mg
- Fat: 21g
- Saturated Fat: 4g
- Unsaturated Fat: 15g
- Trans Fat: 0g
- Carbohydrates: 50g
- Fiber: 3g
- Protein: 35g
- Cholesterol: 140mg


