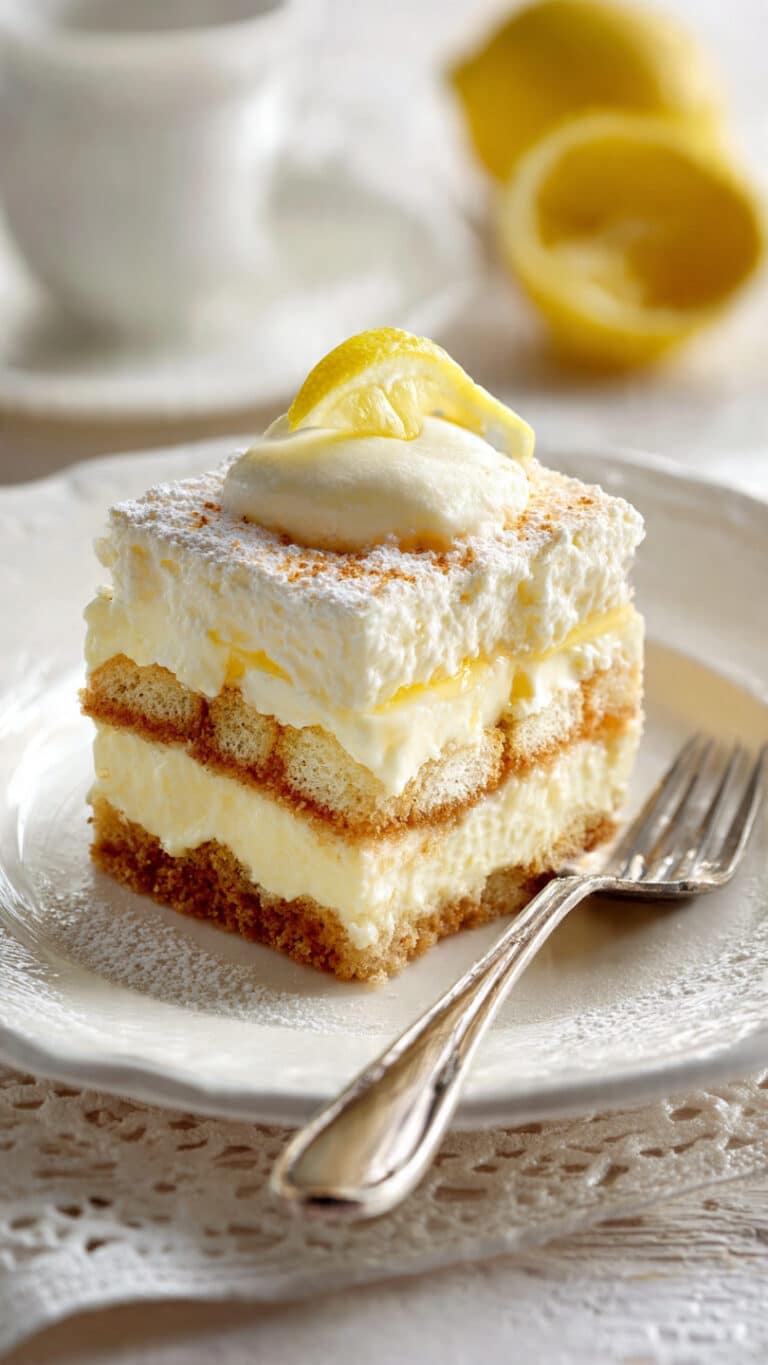
This perfect Oreo cookie crust is rich, chocolatey, and buttery with the ideal balance of crispness and moisture. Whether I’m making a no-bake cheesecake, a creamy pie, or a frozen dessert, this crust is my go-to base. It’s easy to prepare and always adds that signature cookies-and-cream flavor that everyone loves.
Why You’ll Love This Recipe
I love how simple this Oreo crust is — just two ingredients and a few minutes of prep. It doesn’t require any special tools, and I can use it for both baked and no-bake desserts. The texture is perfectly firm yet tender enough to slice easily, and the flavor of real Oreo cookies brings a nostalgic richness to any dessert I pair it with. Plus, there’s no need to remove the cream filling from the cookies — I use the whole thing, which makes it even more convenient.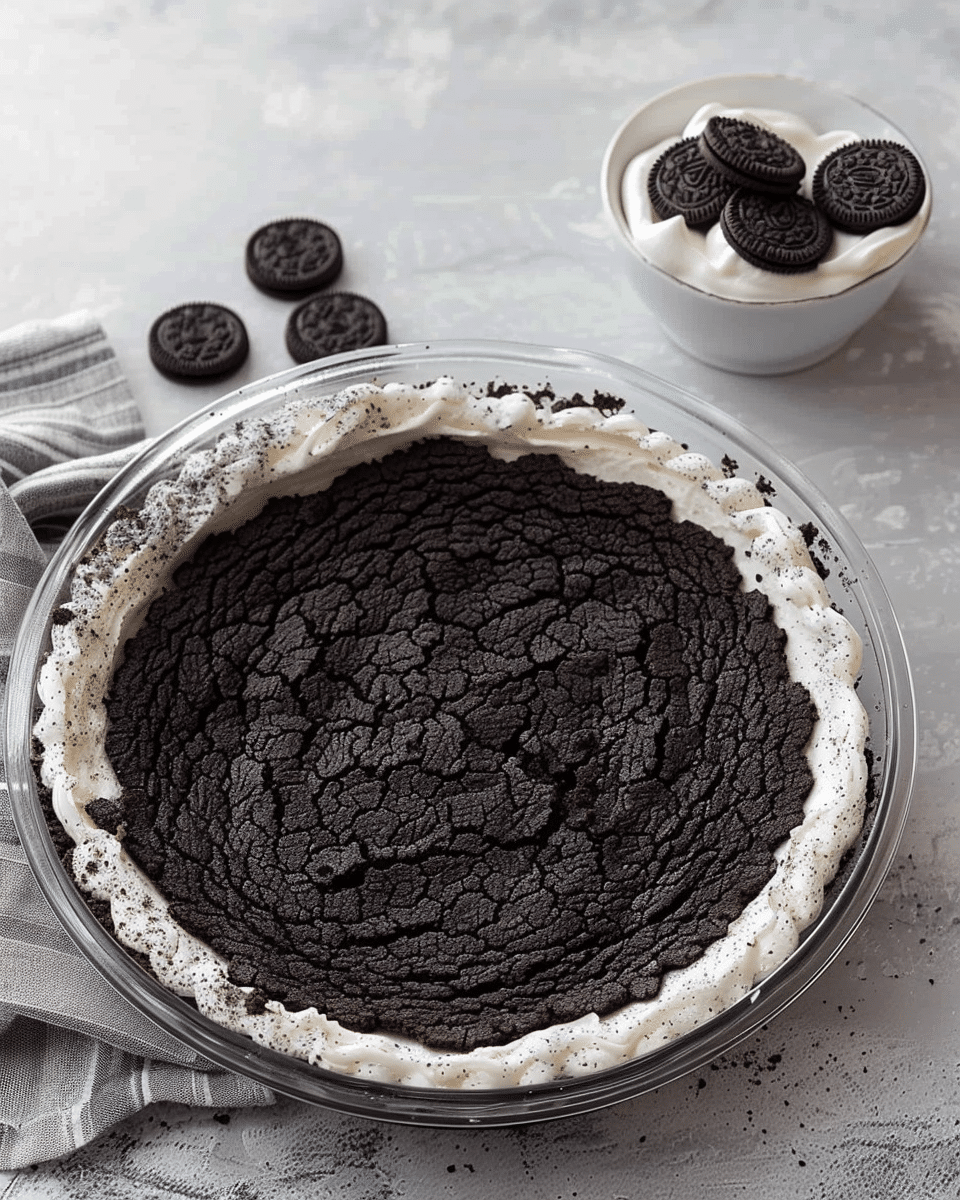
Ingredients
(Here’s a tip: Check out the full list of ingredients and measurements in the recipe card below.)
- Oreo cookies (regular, not Double Stuf)
- Unsalted butter, melted
Directions
- I start by crushing the Oreo cookies into fine crumbs using a food processor. If I don’t have one, I place the cookies in a zip-top bag and crush them with a rolling pin until the texture is even.
- I pour the melted butter over the crumbs and stir until everything is fully combined and resembles wet sand.
- I press the mixture firmly into the bottom and up the sides of a pie dish or springform pan, using the bottom of a glass or measuring cup to pack it tightly.
- For a no-bake dessert, I chill the crust in the refrigerator for at least 30 minutes to set.
- If I’m using the crust for a baked dessert, I pre-bake it at 350°F (175°C) for 8–10 minutes, then let it cool completely before adding the filling.
Servings and timing
This recipe makes enough crust for one 9-inch pie or springform pan. It takes about 10 minutes to prepare and, if baking, an additional 10 minutes in the oven. For no-bake recipes, I just chill the crust for 30 minutes.
Variations
Sometimes I like to use different types of Oreo cookies to match the dessert — Golden Oreos for a vanilla twist or mint Oreos for a refreshing flavor. If I want a slightly less sweet crust, I’ll use chocolate wafer cookies instead and add a touch of sugar and a pinch of salt. For added texture, I’ve also stirred in a few crushed nuts or mini chocolate chips before pressing the crust into the pan.
storage/reheating
If I’m making the crust ahead of time, I store it in the refrigerator, covered, for up to 3 days. For longer storage, I wrap it tightly and freeze it (baked or unbaked) for up to a month. There’s no need to thaw if I’m using it for a baked dessert — I just fill and bake it straight from frozen.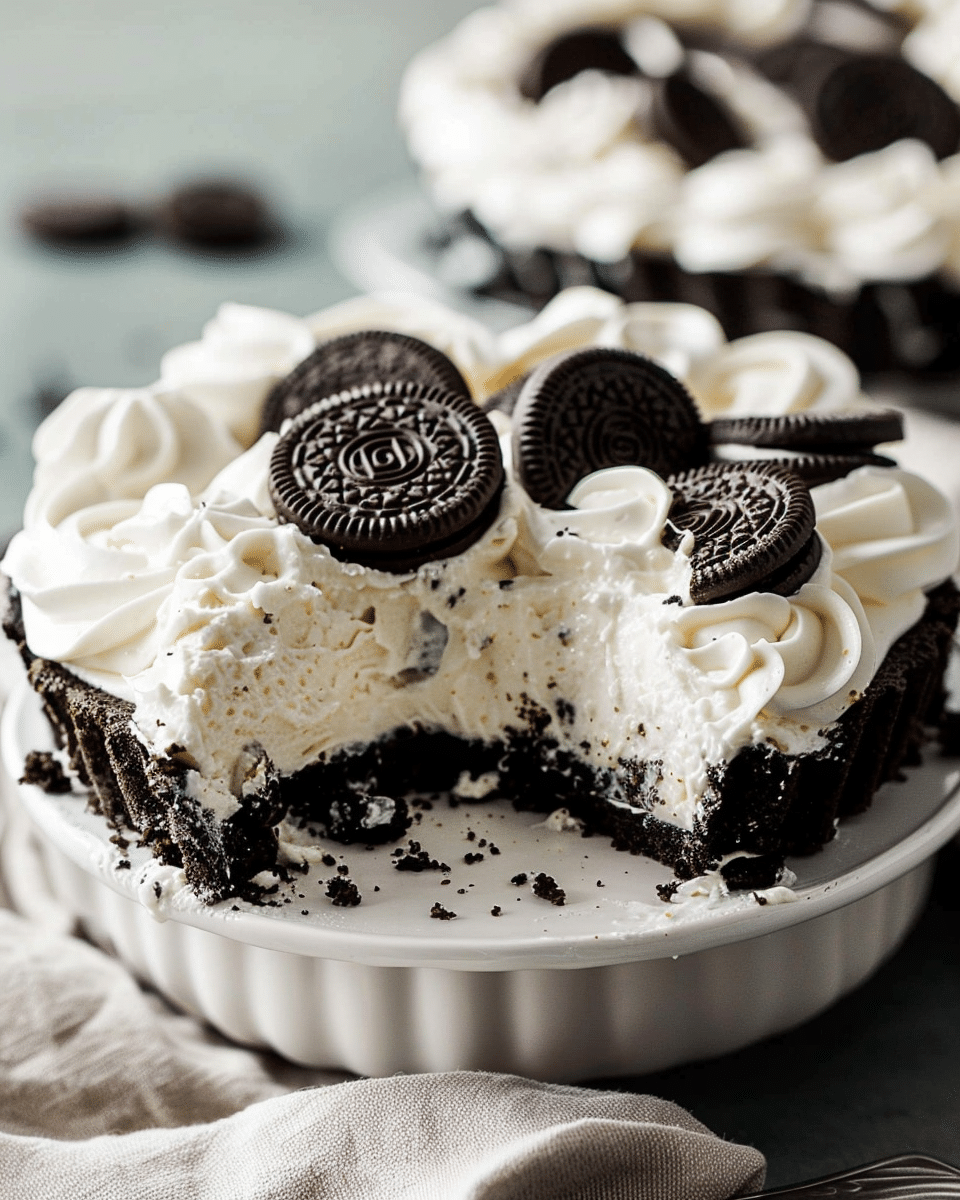
FAQs
Do I need to remove the cream filling from the Oreos?
No, I use the whole cookie — cream and all. The filling actually helps bind the crust together and adds flavor.
Can I make this crust without a food processor?
Yes, I crush the cookies in a sealed plastic bag using a rolling pin. It takes a bit longer, but it works just as well.
How do I keep the crust from crumbling?
Pressing it firmly into the pan is key. I use the bottom of a glass to really compact the crumbs so the crust holds together once chilled or baked.
Can I use this crust for cheesecakes?
Absolutely. I often use this Oreo crust as a base for baked and no-bake cheesecakes. Just make sure to chill or bake it as needed for the type of cheesecake I’m making.
What’s the best way to slice a dessert with an Oreo crust?
I use a sharp knife and run it under hot water, wiping it clean between slices. That helps cut through the firm crust cleanly.
Conclusion
This perfect Oreo cookie crust is a quick and reliable base for so many desserts. It’s rich, chocolatey, and versatile, adding just the right crunch to pies, tarts, cheesecakes, and more. I love how easy it is to whip up and how it turns any treat into something extra special.
PrintPerfect Oreo Cookie Crust
This easy Oreo cookie crust is the perfect base for cheesecakes, pies, and no-bake desserts. Made with just two ingredients, it’s buttery, chocolatey, and holds together beautifully — no need to remove the cream filling! A must-have recipe for any dessert lover looking for a quick and reliable Oreo pie crust.
- Prep Time: 10 minutes
- Cook Time: 10 minutes (optional)
- Total Time: 10–40 minutes (depending on method)
- Yield: 1 crust for 9-inch pie or springform pan
- Category: Dessert
- Method: No-Bake or Baking
- Cuisine: American
- Diet: Vegetarian
Ingredients
- 24 Oreo cookies (regular, not Double Stuf)
- 5 tablespoons unsalted butter, melted
Instructions
- Crush Oreo cookies into fine crumbs using a food processor, or place in a zip-top bag and crush with a rolling pin.
- Pour melted butter over the crumbs and stir until evenly moistened.
- Press mixture firmly into the bottom and up the sides of a 9-inch pie dish or springform pan.
- For no-bake desserts, chill the crust in the refrigerator for at least 30 minutes.
- For baked desserts, pre-bake the crust at 350°F (175°C) for 8–10 minutes. Let cool completely before filling.
Notes
- No need to remove the Oreo cream filling — it helps bind the crust.
- Use the bottom of a measuring cup or glass to press the crust evenly and tightly into the pan.
- For a variation, try using Golden Oreos, mint Oreos, or chocolate wafer cookies.
- Add-ins like mini chocolate chips or crushed nuts can provide extra texture.
Nutrition
- Serving Size: 1 slice (1/8 of crust)
- Calories: 210
- Sugar: 14g
- Sodium: 140mg
- Fat: 12g
- Saturated Fat: 6g
- Unsaturated Fat: 5g
- Trans Fat: 0g
- Carbohydrates: 24g
- Fiber: 1g
- Protein: 2g
- Cholesterol: 15mg


