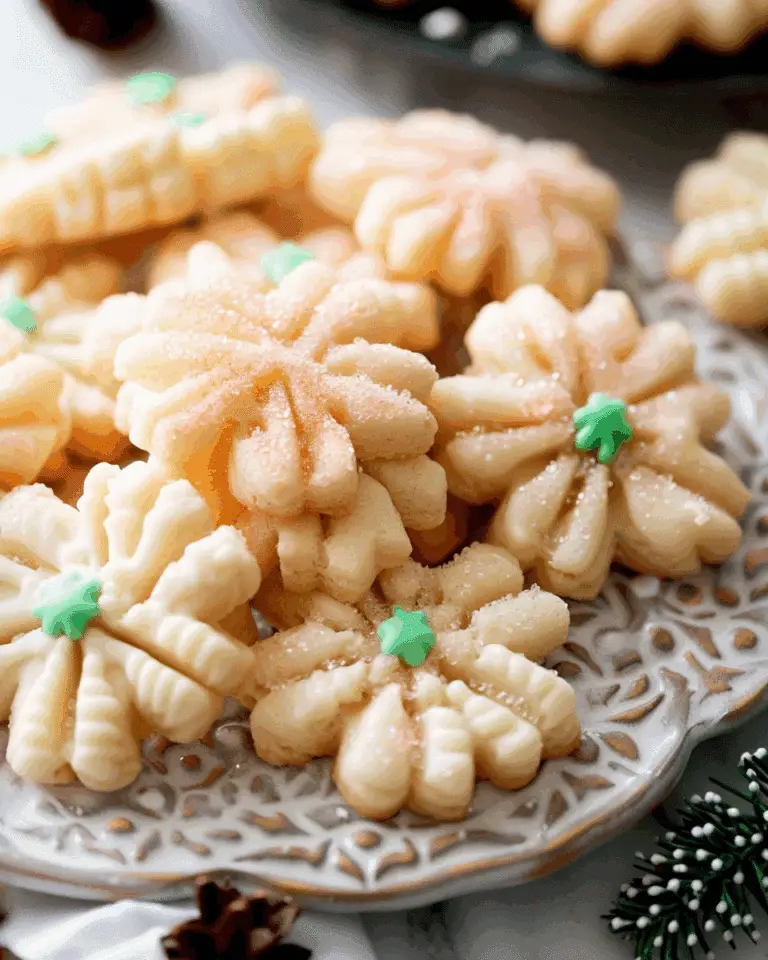
These Peanut Butter Spider Cookies are soft, chewy, and just spooky enough to be the perfect Halloween treat. I love how fun they are to decorate, and they always get a great reaction at parties. With a rich peanut butter base, a mini Reese’s cup in the center, and little chocolate spider legs and candy eyes, they’re not only adorable—they’re delicious too.
Why You’ll Love This Recipe
I love how festive and easy these cookies are. The dough comes together quickly, and using mini Reese’s gives each cookie a perfect peanut butter-chocolate combo. Decorating them like spiders makes them extra fun for Halloween, especially if I’m baking with kids. Plus, they freeze well and are always a hit on dessert tables.
Ingredients
(Here’s a tip: Check out the full list of ingredients and measurements in the recipe card below.)
- ½ cup unsalted butter, room temperature
- ½ cup brown sugar
- ⅓ cup granulated sugar
- ¾ cup creamy peanut butter (not natural)
- 1 large egg
- 1 tsp vanilla extract
- 1 ½ cups all-purpose flour
- 1 tsp baking soda
- ½ tsp baking powder
- ½ tsp salt
- Granulated sugar (for rolling)
- About 24 mini Reese’s Peanut Butter Cups
- ½ cup semi-sweet chocolate chips (for melting)
- Candy eyeballs (for decorating)
Directions
- I unwrap about 24 mini Reese’s and place them in a bowl in the freezer to help them hold their shape when added to hot cookies.
- I preheat the oven to 350°F and line a baking sheet with a silicone mat.
- In a mixing bowl, I beat together the butter, brown sugar, and granulated sugar for about a minute until smooth and fluffy.
- I add in the peanut butter, egg, and vanilla, then beat again until fully combined.
- I mix in the flour, baking soda, baking powder, and salt—just until the dough comes together. I make sure not to overmix.
- Using a small cookie scoop or tablespoon, I form dough balls, roll them between my palms, then roll each in granulated sugar.
- I space the cookies 2–3 inches apart on the baking sheet and bake for 8–11 minutes, until the edges begin to crack and turn golden.
- Right after baking, I press a frozen mini Reese’s cup into the center of each cookie. I let the cookies cool for 15–20 minutes before moving them, so the candy doesn’t lose its shape.
- I melt the chocolate chips in the microwave at 50% power, stirring every minute until smooth.
- I transfer the melted chocolate to a sandwich bag with the corner snipped or a squeeze bottle, and I draw 4 spider legs on each side of the Reese’s.
- Using a dab of melted chocolate, I attach two candy eyes to each Reese’s. Once the chocolate sets, the cookies are ready to serve.
Servings and timing
This recipe makes about 24 cookies and takes just 26 minutes total—15 minutes to prep, 11 minutes to bake. They’re quick to make and easy to decorate once cooled.
Variations
Sometimes I switch things up by using mini chocolate truffles or peanut butter cups with different fillings like white chocolate or dark chocolate. For more color, I use Halloween-themed sprinkles before baking or colored candy eyes. If I want a richer dough, I add a tablespoon of cocoa powder to the cookie base.
storage/reheating
I store these cookies in an airtight container at room temperature for up to 5 days. If I make them ahead, they freeze beautifully—just place them in a single layer on a tray until solid, then transfer to a freezer bag. No reheating is needed; I just let them thaw at room temperature.
FAQs
Can I use natural peanut butter in this recipe?
I don’t recommend it—natural peanut butter tends to be too oily and can make the dough spread too much. Stick with creamy, shelf-stable varieties for the best results.
Do I have to freeze the Reese’s cups first?
Yes, I always do—it helps them keep their shape when pressed into hot cookies. Otherwise, they might melt too much and lose the “spider body” look.
How do I keep the cookies from spreading too thin?
I make sure to use room-temperature butter, not melted, and chill the dough briefly if my kitchen is warm. Using silicone baking mats also helps the cookies hold their shape.
Can I make these cookies ahead of time?
Absolutely. I often make the dough a day ahead and store it in the fridge. I also freeze fully decorated cookies—they thaw well and still look great.
Can I use chocolate chips instead of Reese’s?
You can, but the Reese’s cups really make the “spider body” work visually. If you don’t have them, try chocolate truffles or other round candies.
Conclusion
These Peanut Butter Spider Cookies are the perfect mix of fun and flavor. I love how easy they are to make, and the spooky-cute design always brings smiles at Halloween parties. Whether I’m baking with kids or making a festive treat for friends, these cookies are a seasonal must-bake.
PrintPeanut Butter Spider Cookies
These Peanut Butter Spider Cookies are soft, chewy, and full of spooky Halloween charm. Made with a classic peanut butter cookie base, mini Reese’s cups, and chocolate spider legs, they’re the perfect fun and festive treat for your next Halloween party.
- Prep Time: 15 minutes
- Cook Time: 11 minutes
- Total Time: 26 minutes
- Yield: About 24 cookies
- Category: Dessert
- Method: Baked
- Cuisine: American
- Diet: Vegetarian
Ingredients
- ½ cup unsalted butter, room temperature
- ½ cup brown sugar
- ⅓ cup granulated sugar
- ¾ cup creamy peanut butter (not natural)
- 1 large egg
- 1 tsp vanilla extract
- 1½ cups all-purpose flour
- 1 tsp baking soda
- ½ tsp baking powder
- ½ tsp salt
- Extra granulated sugar (for rolling)
- 24 mini Reese’s Peanut Butter Cups (frozen)
- ½ cup semi-sweet chocolate chips (for melting)
- Candy eyeballs (for decorating)
Instructions
- Place unwrapped Reese’s in the freezer to chill while preparing the dough.
- Preheat oven to 350°F (175°C) and line a baking sheet with a silicone mat or parchment.
- In a bowl, cream together butter, brown sugar, and granulated sugar until fluffy.
- Add peanut butter, egg, and vanilla. Mix until smooth.
- Stir in flour, baking soda, baking powder, and salt until just combined.
- Scoop dough into 1-inch balls, roll in sugar, and place 2–3 inches apart on baking sheet.
- Bake 8–11 minutes or until lightly golden and cracked.
- Immediately press a frozen Reese’s cup into each cookie center. Let cool 15–20 minutes.
- Melt chocolate chips in the microwave at 50% power, stirring until smooth.
- Use a piping bag or zip-top bag to draw spider legs.
- Attach candy eyes to the Reese’s using a dab of melted chocolate. Let set completely before serving.
Notes
- Freeze Reese’s before baking to help them hold their shape.
- Natural peanut butter is not recommended—it can make cookies spread too much.
- Use Halloween-themed eyes, sprinkles, or other candies to customize.
- Store cookies at room temperature or freeze for longer storage.
Nutrition
- Serving Size: 1 cookie
- Calories: 180
- Sugar: 14g
- Sodium: 140mg
- Fat: 10g
- Saturated Fat: 4g
- Unsaturated Fat: 5g
- Trans Fat: 0g
- Carbohydrates: 19g
- Fiber: 1g
- Protein: 3g
- Cholesterol: 15mg

