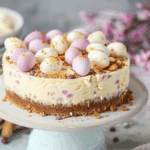
These Mini Egg Cheesecakes are a delightful no-bake dessert that brings together the rich creaminess of cheesecake with the crunch and color of chocolate mini eggs. Perfect for springtime, Easter celebrations, or any time I crave a fun and festive sweet treat, these cheesecakes are as easy to make as they are to enjoy.
Why You’ll Love This Recipe
I love how simple and stress-free this recipe is—no baking involved, just a bit of mixing and chilling. The mini cheesecakes are perfectly portioned for individual servings, which makes them ideal for parties or just a personal indulgence. The crushed mini eggs give each bite a burst of texture and chocolatey goodness, while the creamy filling remains light and fluffy. They’re pretty to look at and even better to eat.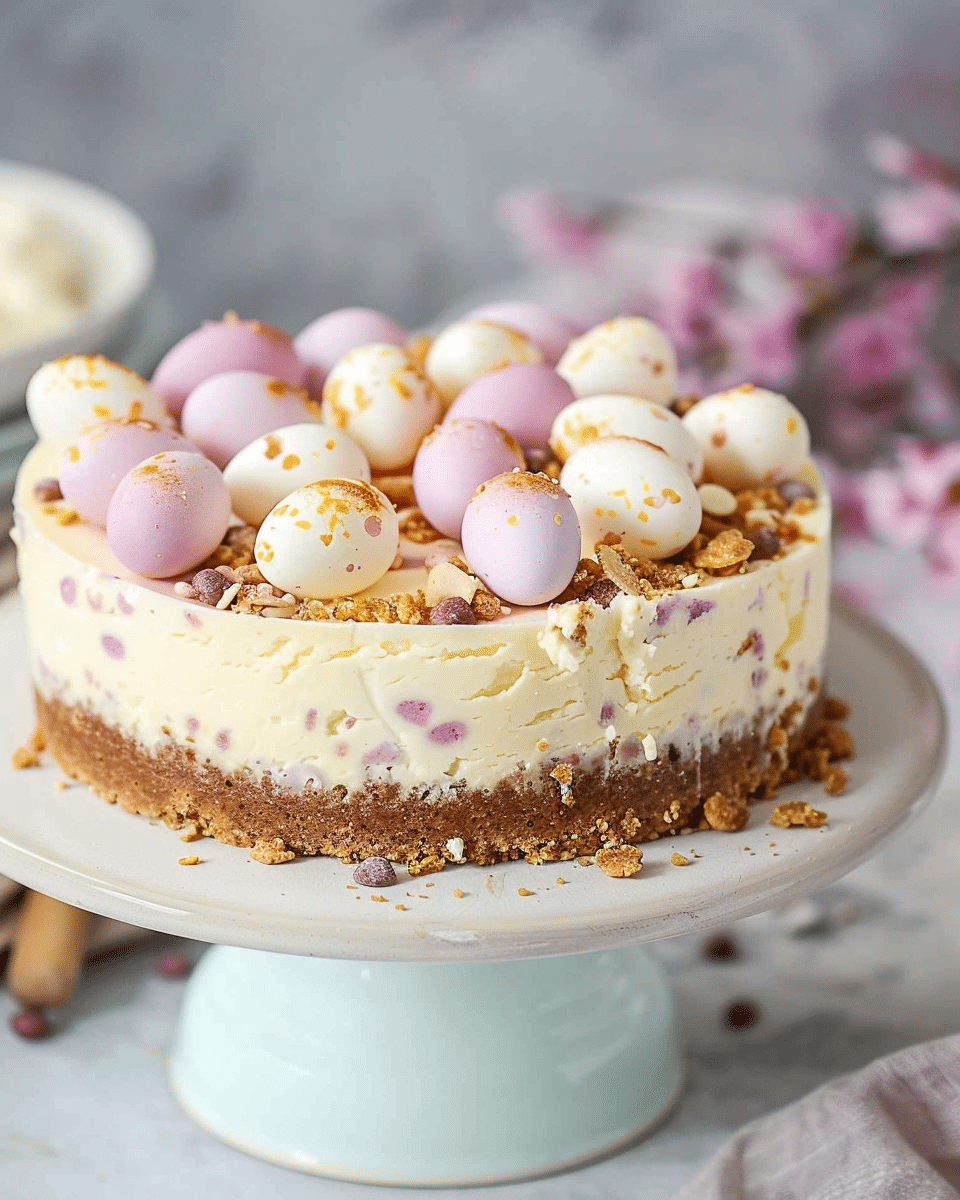
Ingredients
(Here’s a tip: Check out the full list of ingredients and measurements in the recipe card below.)
-
Digestive biscuits or graham crackers, crushed
-
Unsalted butter, melted
-
Full-fat cream cheese, softened
-
Powdered sugar
-
Vanilla extract
-
Double cream or heavy whipping cream
-
Mini chocolate eggs, crushed (plus extra for topping)
Directions
-
I start by combining the crushed digestive biscuits with melted butter, then press the mixture into the base of cupcake liners or a muffin tin to form the crust. I place these in the fridge to chill while preparing the filling.
-
In a mixing bowl, I beat the cream cheese until smooth. I then add the powdered sugar and vanilla extract, mixing until fully combined.
-
In a separate bowl, I whip the double cream until it forms stiff peaks, then gently fold it into the cream cheese mixture.
-
I stir in the crushed mini eggs, making sure they’re evenly distributed throughout the filling.
-
I spoon the mixture over the chilled biscuit bases and smooth the tops.
-
The cheesecakes go into the fridge for at least 4 hours, or overnight, to set completely.
-
Just before serving, I top each cheesecake with a few whole or crushed mini eggs for decoration.
Servings and timing
This recipe makes about 12 mini cheesecakes, depending on the size of your cupcake liners or muffin tin. The prep time is around 20 minutes, with a chilling time of at least 4 hours.
Variations
I sometimes switch things up by using chocolate biscuits for a richer base or adding a bit of lemon zest to the filling for a slight tang. If I want a different chocolate element, I might use chopped chocolate bars instead of mini eggs. These mini cheesecakes also work well with a swirl of fruit compote on top for an added flavor twist.
storage/reheating
I store the mini egg cheesecakes in an airtight container in the refrigerator for up to 4 days. For longer storage, I freeze them—just make sure they’re well wrapped. To serve from frozen, I let them thaw in the fridge for a few hours. These don’t require reheating since they’re a chilled dessert.
FAQs
How long do mini egg cheesecakes take to set?
I usually let them chill in the fridge for at least 4 hours, but for best results, I leave them overnight.
Can I make these ahead of time?
Yes, I often make them a day in advance to ensure they’re perfectly set and ready to serve.
Do I need to bake the crust?
No, the crust sets in the fridge thanks to the melted butter, so there’s no need for baking.
What kind of cream cheese works best?
I always use full-fat cream cheese for the best texture and flavor. Low-fat versions can be too watery.
Can I use different candies instead of mini eggs?
Absolutely—I like experimenting with crushed chocolate bars, M&Ms, or even peanut butter cups for a different twist.
Conclusion
These Mini Egg Cheesecakes are an irresistible dessert that’s as festive as it is delicious. I love how easy they are to make and how well they go over with both kids and adults. Whether it’s Easter or just a regular day that needs a little sweetness, these cheesecakes never fail to impress.
PrintMini Egg Cheesecake
5 Stars 4 Stars 3 Stars 2 Stars 1 Star
No reviews
These Mini Egg Cheesecakes are a fun, no-bake dessert perfect for Easter, spring gatherings, or anytime you’re craving something creamy and colorful. With a buttery biscuit base, rich vanilla cheesecake filling, and crunchy chocolate mini eggs, they’re festive, make-ahead friendly, and absolutely delicious.
- Author: Mayaa
- Prep Time: 20 minutes
- Cook Time: 0 minutes
- Total Time: 4 hours 20 minutes
- Yield: 12 mini cheesecakes
- Category: Dessert
- Method: No-bake
- Cuisine: American / British fusion
- Diet: Vegetarian
Ingredients
- 200g digestive biscuits or graham crackers, crushed
- 100g unsalted butter, melted
- 400g full-fat cream cheese, softened
- 100g powdered sugar
- 1 tsp vanilla extract
- 200ml double cream or heavy whipping cream
- 150g mini chocolate eggs, crushed (plus extra for topping)
Instructions
- Mix crushed biscuits with melted butter until well combined.
- Press the mixture into the base of cupcake liners or a muffin tin to form the crust. Chill in the fridge.
- In a mixing bowl, beat cream cheese until smooth.
- Add powdered sugar and vanilla extract, and mix until fully incorporated.
- In a separate bowl, whip the cream until stiff peaks form.
- Gently fold the whipped cream into the cream cheese mixture.
- Stir in crushed mini eggs.
- Spoon the mixture over the chilled biscuit bases and smooth the tops.
- Refrigerate for at least 4 hours or overnight to set.
- Before serving, decorate with extra mini eggs.
Notes
- You can use chocolate biscuits for a richer base.
- Add lemon zest to the filling for a fresh twist.
- Swap mini eggs with other candies like M&Ms or chopped chocolate bars.
- Add a spoonful of fruit compote on top for extra flavor.
- Make ahead: Chill overnight for best results.
Nutrition
- Serving Size: 1 mini cheesecake
- Calories: 280
- Sugar: 18g
- Sodium: 160mg
- Fat: 20g
- Saturated Fat: 12g
- Unsaturated Fat: 6g
- Trans Fat: 0g
- Carbohydrates: 22g
- Fiber: 0.5g
- Protein: 3g
- Cholesterol: 45mg

