These Fudge Stripe Witch Hat Cookies are one of my favorite no-bake Halloween treats — festive, fun, and perfect for making with kids. I take fudge stripe cookies, flip them over, and turn them into mini witch hats using colorful frosting and chocolate kisses. They’re ridiculously easy to assemble and look adorable on any Halloween dessert table.
Why I’ll Love This Recipe
I love this recipe because it’s so quick and playful. There’s no baking, no mess, and they come together in minutes. The combination of the chocolate-dipped cookie base and the kiss on top is delicious, and I get to use colored frosting or sprinkles to dress them up however I like. They’re great for classroom parties, Halloween favors, or just for some spooky fun in the kitchen.
Ingredients
(Here’s a tip: Check out the full list of ingredients and measurements in the recipe card below.)
-
Fudge stripe cookies (chocolate-dipped, with a hole in the center)
-
Chocolate kisses, unwrapped
-
Colored frosting or decorating gel (orange, green, purple, etc.)
-
Optional: Halloween sprinkles or edible glitter

Directions
-
Flip the cookies
I turn the fudge stripe cookies upside down so the chocolate-covered side is facing up. This makes the perfect flat base for the witch hat. -
Add the frosting
Using a small piping tip or zip-top bag, I pipe a ring of colored frosting around the center hole of the cookie. -
Attach the kiss
I press a chocolate kiss gently onto the frosting ring so it sticks firmly and creates the pointed “hat.” -
Decorate (optional)
I add a few Halloween sprinkles or edible glitter to the frosting band for extra flair. -
Let them set
I let the cookies sit at room temperature for 15–30 minutes to allow the frosting to set slightly before serving or packaging.
Servings and timing
Servings: About 24 cookies (depending on how many fudge stripe cookies and kisses I have)
Prep time: ~15 minutes
Setting time: ~15–30 minutes
Total time: ~30–45 minutes
Variations
-
I use different colored frostings for each “hat”
-
I swap the kisses with mini peanut butter cups for a twist
-
I add edible eyes or spider web details for extra Halloween vibes
-
I flavor the frosting with a touch of mint or orange extract
-
I use sugar-free or dark chocolate kisses for a slightly healthier option
storage/reheating
Storage: I store the finished cookies in an airtight container at room temperature for up to 4 days.
Freezing: I don’t usually freeze these — the frosting can soften too much when thawed.
Reheating: No reheating needed — these are served at room temperature and hold their shape well.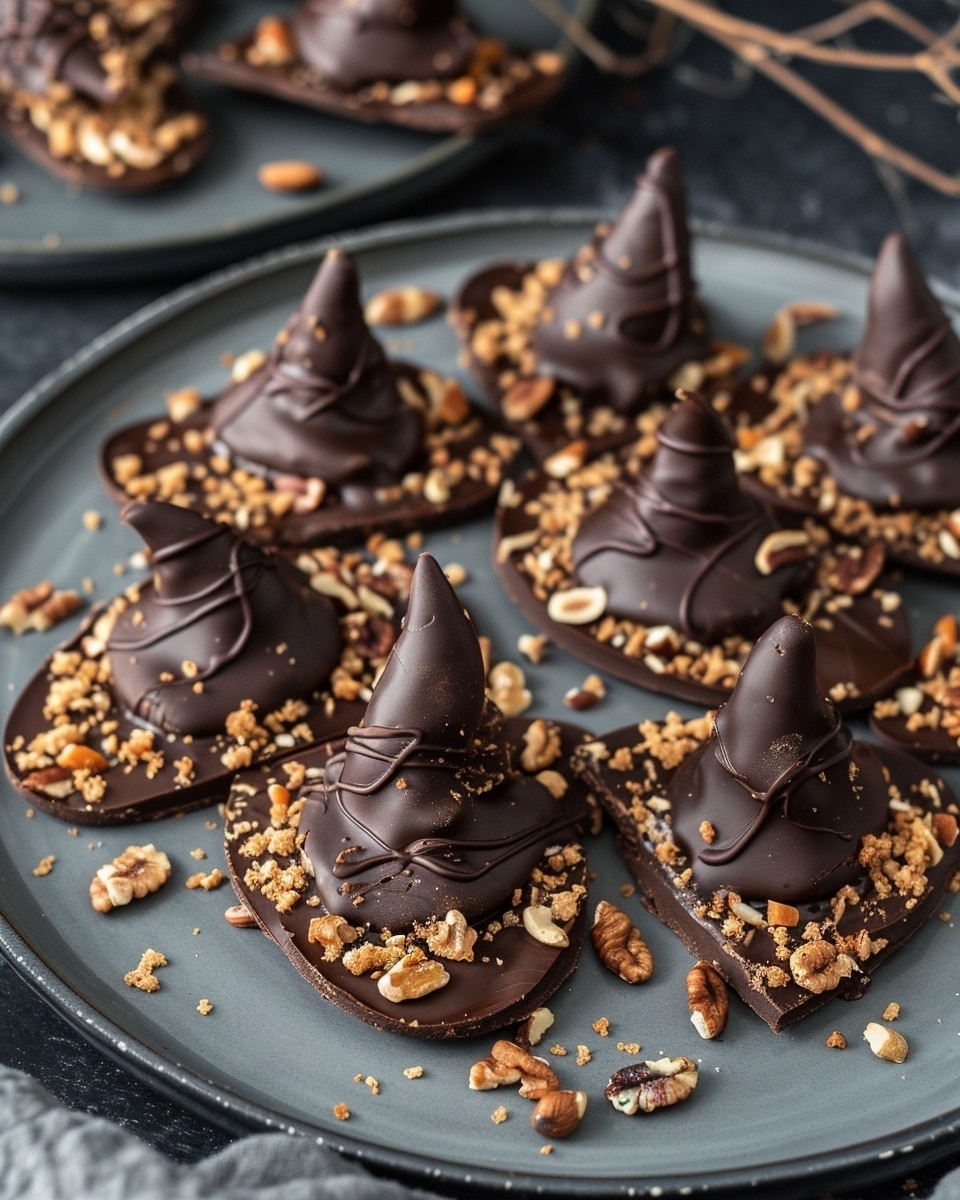
FAQs
Can I make these ahead of time?
Yes, I usually make them a day ahead and store them in a sealed container. They stay fresh and festive until ready to serve.
What kind of frosting works best?
I use store-bought decorating gel or homemade buttercream in piping consistency. The key is using something thick enough to hold the kiss in place.
Do I need a piping bag?
Nope! I often use a zip-top bag with the corner snipped off. It works great for creating the frosting ring.
Can I use different cookies?
Yes, but I find fudge stripe cookies work best because of the flat, chocolate-covered surface and central hole. But any flat chocolate cookie can be adapted.
Are these kid-friendly?
Definitely — they’re perfect for kids to help assemble. No knives, no baking, just sticky fun and creativity.
Conclusion
Fudge Stripe Witch Hat Cookies are a whimsical and easy Halloween treat I love making year after year. They’re quick, delicious, and a great hands-on project for kids and adults alike. Whether I’m making them for a party, gifting them in treat bags, or just having a little spooky fun, they’re always a hit.
PrintFudge Stripe Witch Hat Cookies
These Fudge Stripe Witch Hat Cookies are no-bake Halloween treats made with fudge stripe cookies, chocolate kisses, and colorful frosting. Fun to make and perfect for kids, they’re festive, easy, and delightfully spooky.
- Prep Time: 15 minutes
- Cook Time: 0 minutes
- Total Time: 30–45 minutes
- Yield: 24 cookies
- Category: Dessert
- Method: No-Bake
- Cuisine: American
- Diet: Vegetarian
Ingredients
- 24 fudge stripe cookies (chocolate-dipped side up)
- 24 chocolate kisses, unwrapped
- Colored frosting or decorating gel (orange, green, purple, etc.)
- Optional: Halloween sprinkles or edible glitter
Instructions
- Flip each fudge stripe cookie so the chocolate-covered side is facing up.
- Pipe a small ring of colored frosting around the center hole of the cookie.
- Press a chocolate kiss gently into the frosting to form the witch hat point.
- Decorate the frosting band with Halloween sprinkles or edible glitter, if desired.
- Let cookies sit at room temperature for 15–30 minutes to allow frosting to set before serving or packaging.
Notes
- Use different frosting colors for variety.
- Mini peanut butter cups can be used instead of kisses for a twist.
- Decorate with edible eyes or web piping for added fun.
- Add mint or orange extract to frosting for a flavor boost.
- Dark chocolate or sugar-free kisses can be used for a healthier option.
Nutrition
- Serving Size: 1 cookie
- Calories: 140
- Sugar: 12g
- Sodium: 70mg
- Fat: 7g
- Saturated Fat: 4g
- Unsaturated Fat: 3g
- Trans Fat: 0g
- Carbohydrates: 18g
- Fiber: 1g
- Protein: 1g
- Cholesterol: 5mg


